The PM Youth Chromebook Scheme 2026 will give 500,000 free Chromebooks to government-school toppers, but no application is complete without the right documents. Many students prepare everything else and then stumble at the upload stage, because a file is too large, a copy is not attested, or the wrong paper was scanned. This guide lists exactly which documents you need, what attestation means, and how to upload everything correctly the first time.
The scheme was launched on 23 October 2026 at the Jinnah Convention Centre in Islamabad by Prime Minister Shehbaz Sharif, and it is run by the Inter Boards Coordination Commission (IBCC) under the Prime Minister’s Youth Programme. Registration is free, and only one application is allowed per student. Documents are the part of the application you can fully control in advance, so preparing them early is the easiest way to avoid a failed submission.
The Four Documents You Need
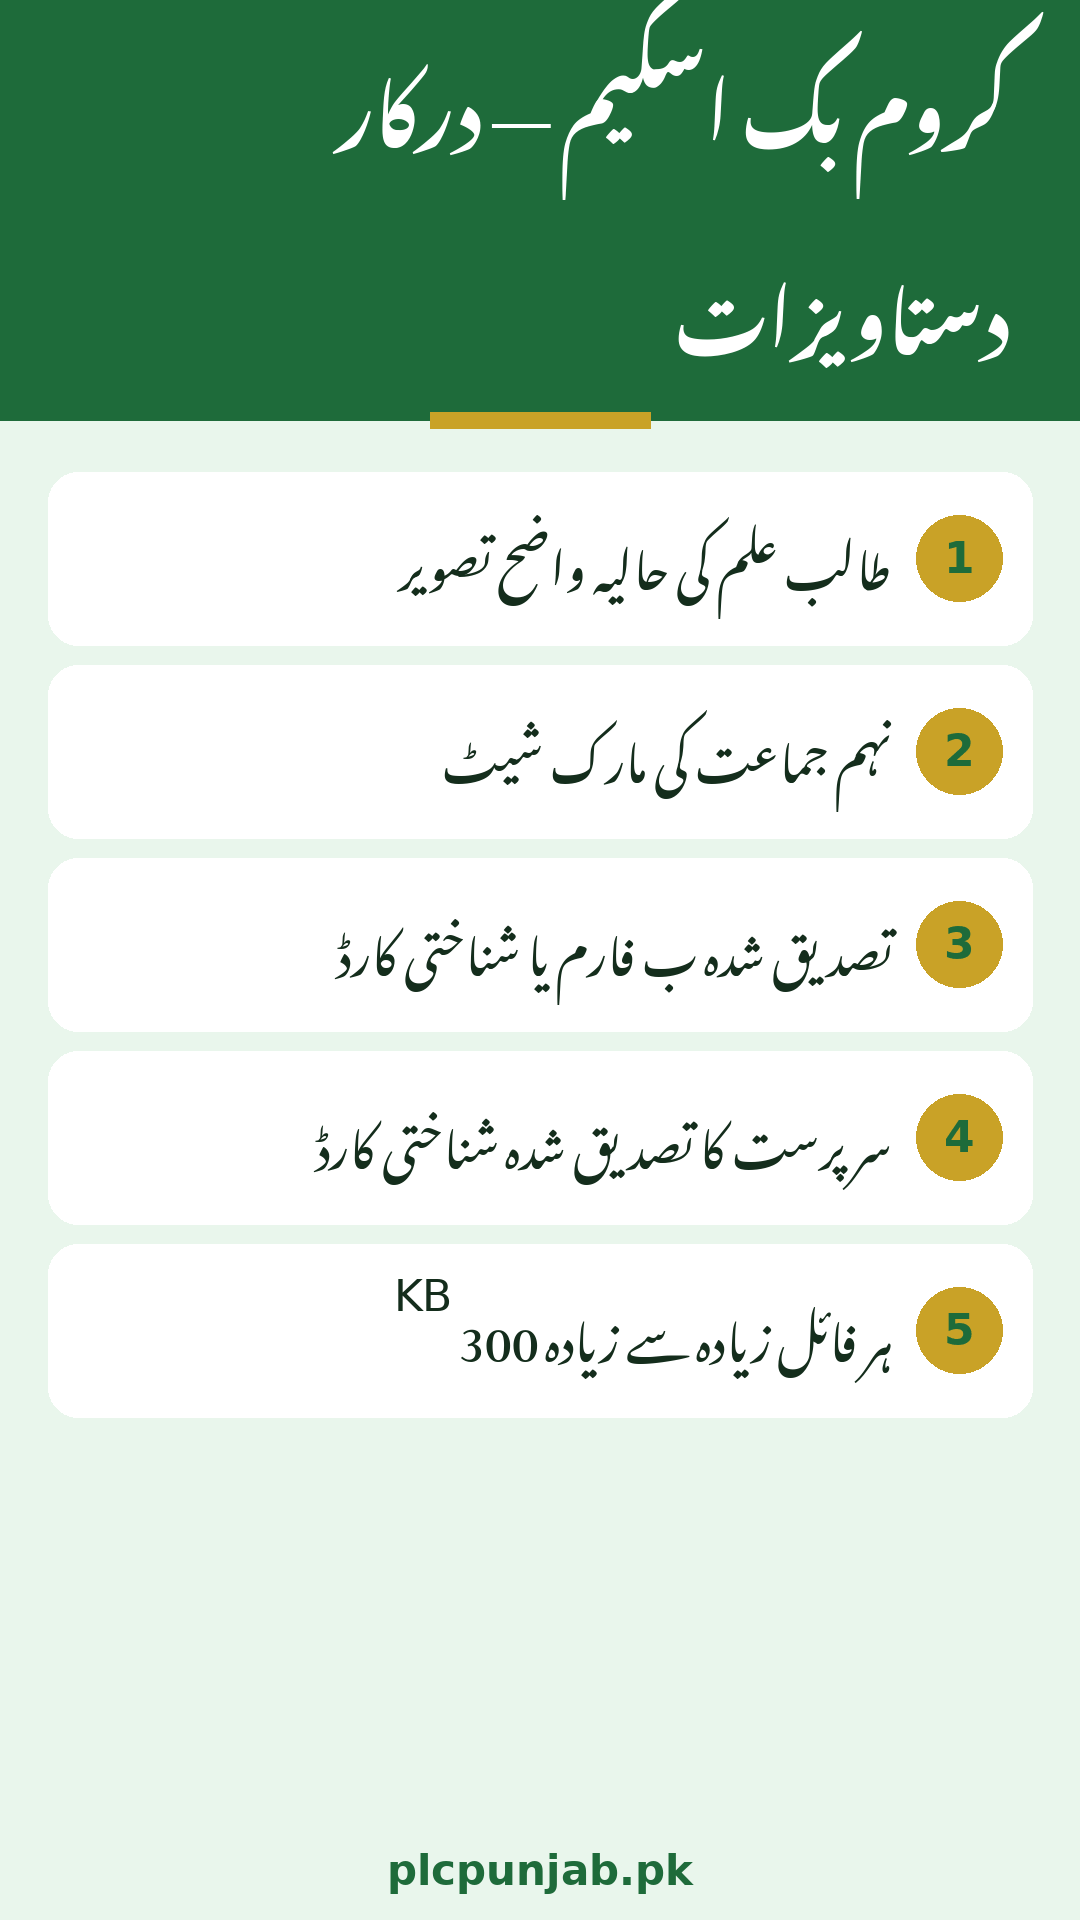
Only four documents are required, and the list is short on purpose. You need your recent photograph, your SSC-I (9th class) mark sheet, your attested B-Form or CNIC, and your guardian’s attested CNIC. Nothing else is asked for at the upload stage. If someone tells you that extra papers, bank statements or domicile certificates are required for this scheme, that information is not part of the official document list.
Every file you upload must be 300 KB or smaller. This limit applies to each file separately, not to all four files combined, so check the size of every scan or photo before you start. A phone camera photo is often much larger than 300 KB, and a raw scan can be larger still, so you will usually need to compress or resize your files first. Free image tools on any phone or computer can do this in a minute. On a phone, open the photo, use the resize or compress option, and save a smaller copy; on a computer, any basic image editor can reduce the dimensions until the file falls under the limit. After compressing, always open the new file and confirm that names, numbers and stamps are still readable, because a file that is small but illegible is no better than a file that is too large.
Maximum size per file: 300 KB.
Check each file’s size before uploading, not after.
Compress phone photos and scans that exceed the limit.
After compressing, open the file and confirm it is still readable.
Blurry or cut-off documents cause problems even at the right size.
Attestation: What It Means
Two of the four documents must be attested: your B-Form or CNIC, and your guardian’s CNIC. Attestation means that an authorised person has checked the copy against the original and stamped it as a true copy. An ordinary photocopy without attestation does not meet the requirement, and uploading one risks rejection of that document. If your copies are not attested yet, get them attested before you begin the application, because the portal will not wait for you to fix papers midway. The simplest approach is to take both the originals and the copies together when you go for attestation, so that the attesting person can compare them on the spot and stamp the copies without a second visit.
Your photograph and your mark sheet do not carry the same attestation note, but they must still be genuine and legible. Use your actual recent photograph, not an old or edited one, and scan the mark sheet that your board issued, with all subjects and marks visible.
How to Upload Documents Step by Step
Uploading happens in the middle of the application, after your record has been found and your details verified. Do not upload documents before your details are correct, because an application built on wrong details will still be wrong after the upload.
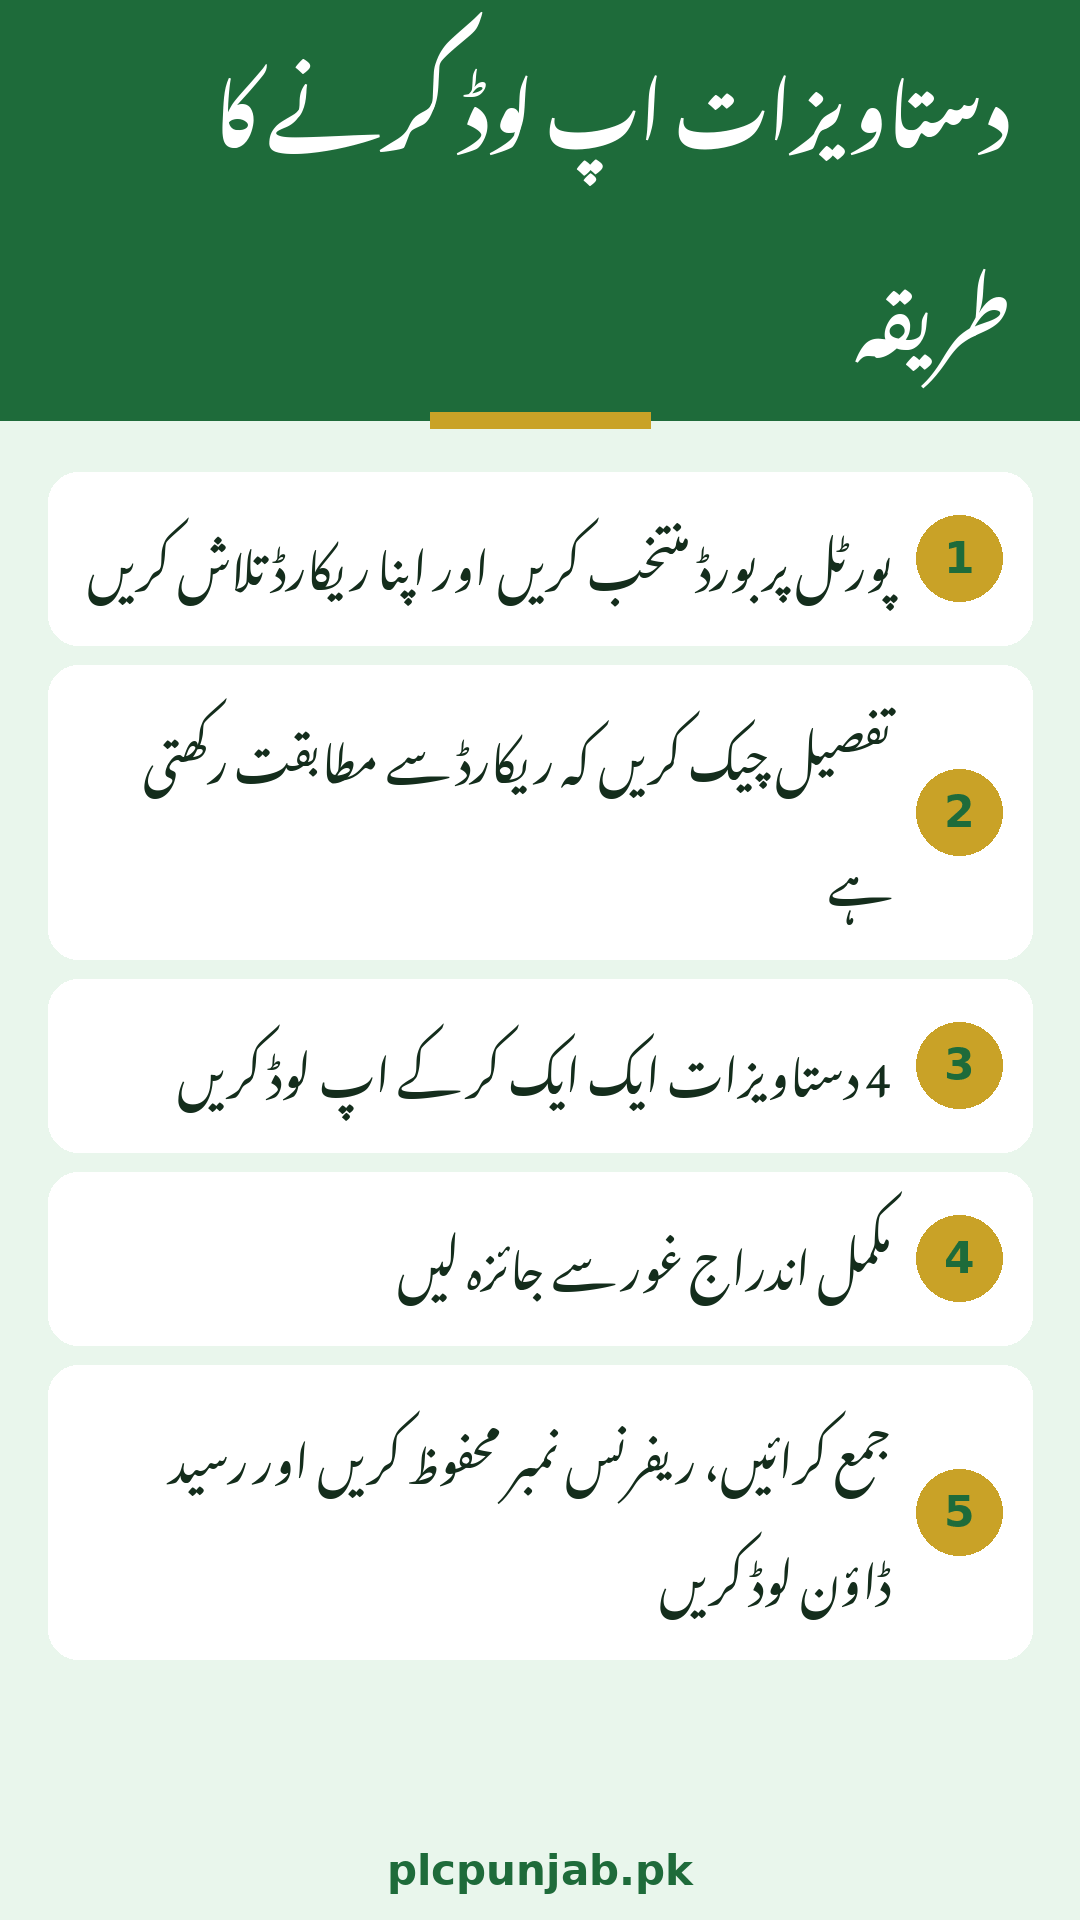
Select your board and find your record. Use your CNIC or B-Form, your roll or registration number in digits only without dashes, and your date of birth.
Verify your details. Read the record the portal shows you and confirm it matches your board record.
Upload one document at a time. Attach your photograph, then your mark sheet, then your attested B-Form or CNIC, then your guardian’s attested CNIC.
Check each upload. After each file, confirm that the right document was attached and that it is readable.
Review the complete entry. Read everything once more before submitting, because no changes are possible after submission.
Step
Detail
1. Board selection
Choose the board that issued your SSC-I result
2. Record search
CNIC/B-Form + roll number (digits only) + date of birth
3. Detail verification
Confirm the shown record matches your board record
4. Document upload
Four files, each 300 KB or smaller
5. Review and submit
Review everything, submit, save reference number, download slip
Common Document Mistakes
Most document problems fall into a small set of repeated errors. Avoiding them is straightforward once you know what they are.
Uploading a file larger than 300 KB and wondering why the upload fails.
Uploading an unattested copy of the B-Form, CNIC or guardian’s CNIC.
Uploading someone else’s photograph or an old, unclear photo.
Scanning only part of the mark sheet, with some subjects cut off.
Attaching the right document to the wrong upload field.
Submitting without checking that all four documents are attached.
What Happens After Upload
Once your documents are uploaded and your entry is submitted, the application moves to verification and ranking. Your SSC-I result is verified by IBCC, and selection proceeds within your province, region, board and group until its quota is filled. Your reference number and downloaded slip are your proof of application, so keep both safe. If your record details were wrong, the time to fix them was before submission — after submission, no changes are possible, which is why the review step matters so much. A useful habit is to keep a small folder, physical or digital, holding your slip, your reference number and copies of the four documents you uploaded, so that if any question about your application comes up later, you can answer it immediately from your own records instead of searching for papers under pressure. For the full registration walkthrough, read our PM Youth Chromebook Scheme apply guide.
Conclusion
Four documents, each 300 KB or smaller, two of them attested: that is the complete document requirement for the PM Youth Chromebook Scheme 2026. Prepare your photograph, your SSC-I mark sheet, your attested B-Form or CNIC, and your guardian’s attested CNIC before you open the portal, check every file’s size and readability, and review your entry before submitting. Register only on the official portal at pmychromebooks.ibcc.edu.pk.
FAQs
How many documents are required?
Four: your photograph, your SSC-I mark sheet, your attested B-Form or CNIC, and your guardian’s attested CNIC.
What is the maximum file size for each document?
Each file must be 300 KB or smaller.
Which documents must be attested?
Your B-Form or CNIC, and your guardian’s CNIC, must be attested copies.
Can I change my documents after submitting?
No. After submission you cannot change your entry, so check all four documents during the review step.
Shahzad Sahil is the editor of plcpunjab.pk, covering Punjab government schemes including the Livestock Card, eligibility, registration and latest updates, with information verified from official sources for readers across Punjab.
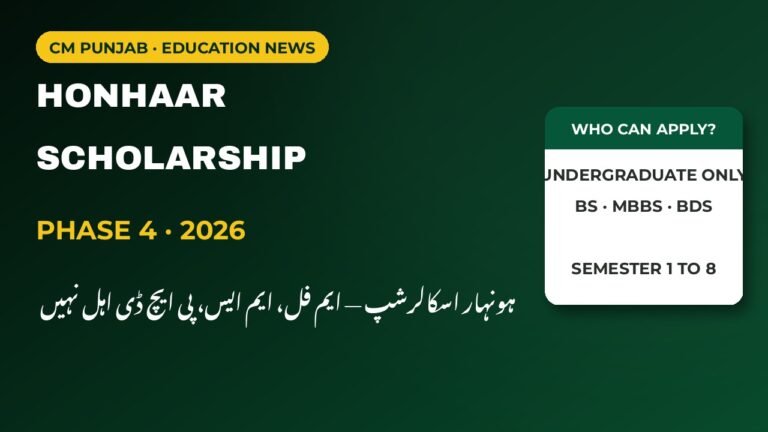
Have you seen the posts claiming MPhil, MS and PhD students can apply for the Honhaar Scholarship this time? They are everywhere on social media, and they are wrong. If you are a postgraduate student, or the parent of one, read this before you waste time on an application that cannot be accepted. Phase 4…
The wait is finally over for first-year students across Punjab. The 11th class result 2026 for the HSSC Part 1 Annual Examination has been announced today, Thursday, 22 October 2026, at 10:00 AM (PKT), and the result is now LIVE. All nine boards of Punjab — Lahore, Multan, Gujranwala, Faisalabad, Rawalpindi, Sargodha, Bahawalpur, DG Khan…
Parents and teachers across Punjab are adjusting to a school day that starts later than it did in summer, and some private schools are now facing action for ignoring the change. According to the latest official notification, the Punjab Winter School Timings for 2026 set a single-shift start of 8:45 in the morning, in force…
On 18 October 2026, the Punjab government formally announced the second phase of the CM Punjab Laptop Scheme, alongside the scholarship schemes, in a statement by Information Minister Azma Bokhari. The statement linked the programme to artificial intelligence and modern technology. But before you start celebrating, you should read this article carefully, because the announcement…
You have applied for the Honhaar Scholarship, and now only one question matters: is your name on the merit list? There is no magic link for this, and no agent can check it for you. Merit lists are published through the official portal and by the institutions themselves, ranked within your own institution and discipline….
Students in Punjab with at least 50% marks in Intermediate can now apply for a subsidised two-year Associate Degree at the University of Engineering and Technology (UET), Lahore. The Fall 2026 ADP intake covers Computer Science, Data Science and Artificial Intelligence, with online applications open until 24 November 2026 and classes beginning on 7 December…